Getting Started
When you need to write server authoritative code, Beamable Microservices are a good choice.
Setting Up
Before you can get started creating a new Microservice, you should make sure the following steps are complete.
- Install the Beamable SDK into your Unity project. If you haven't done this yet, check the Installing Beamable (Unity). Make sure you install the SDK with version 2.0 or higher.
- Log into a Beamable organization inside the Unity SDK.
- Install Docker on your system. Docker is an industry standard tool for bundling code into distributable packages. You can download DockerHub from their website, https://www.docker.com/products/docker-desktop/. If you forget this step, the Beam Services window in the Unity SDK will prompt you to install Docker later.
You do not need a Docker account
Docker's website and DockerHub software will to convince you to create an account with Docker. You may eventually need to create an account for other reasons, but you do not need an account to get started with Beamable Microservices.
Creating your first Microservice
To create a Microservice, open the Beam Services window in Unity by clicking the Beamable Button and selecting Open Beam Services.
If your Unity project does not have any Microservices yet, then the Beam Services window will automatically prompt you to create one. If there is already an existing service and you want to create a new one, click on the Create button at the top of the window and select, Service. You need to enter a valid service name, and then click the Create Service button.
Service names must follow conventional variable namingThe name of the service will be used in various generated code and therefore must follow normal variable naming conventions. It must start with a letter, and can only contain alpha-numeric characters (plus underscores).
After the Microservice has been created, the Beam Services window will focus on the service, showing the logs of the service and various buttons to interact with the service. Refer to the Beam Services page for how to navigate the Beam Services window.
When you open the code for the new service (using the folder icon button), you will see the standard boilerplate Beamable Microservice code snippet.
using Beamable.Server;

namespace Beamable.DemoService
{
	[Microservice("DemoService")]
	public partial class DemoService : Microservice
	{
		[ClientCallable]
		public int Add(int a, int b)
		{
			return a + b;
		}
	}
}
Before you start the service, make sure to change your Realm to a non-production realm.
Be careful running local Microservices on production realms!Beamable Realms are environments for your game to use and usually there are at least three, one for development, one for staging, and one for production. If you run a local Microservice on the production realm, there is a risk that the service could tamper with your production environment. By default, Beamable will prevent the local service from receiving web traffic on a production Realm. To override this, see the Handling Requestspage.
Back in Unity, in the Beam Services window, press the play button to start the service. You can also run the service directly from your IDE using the IDE's play or debugging buttons. Log messages will appear in the Beam Services window, and eventually when the service has successfully initialized, this log message will appear.
Service ready for trafficCongratulations! You have a locally running Microservice!
Testing the Microservice
As you write Microservices, you need to test the code you are writing. This is done is a few ways, through in-game testing, and by manually calling the Microservice methods from the auto generated Portal testing page. The easiest way to check your Microservice methods is to use the Portal testing page. In the Beam Services window, click the globe icon in the top-right of the Microservice log section. This will open the Beamable Portal website to a section directly targeting your locally running Microservice.
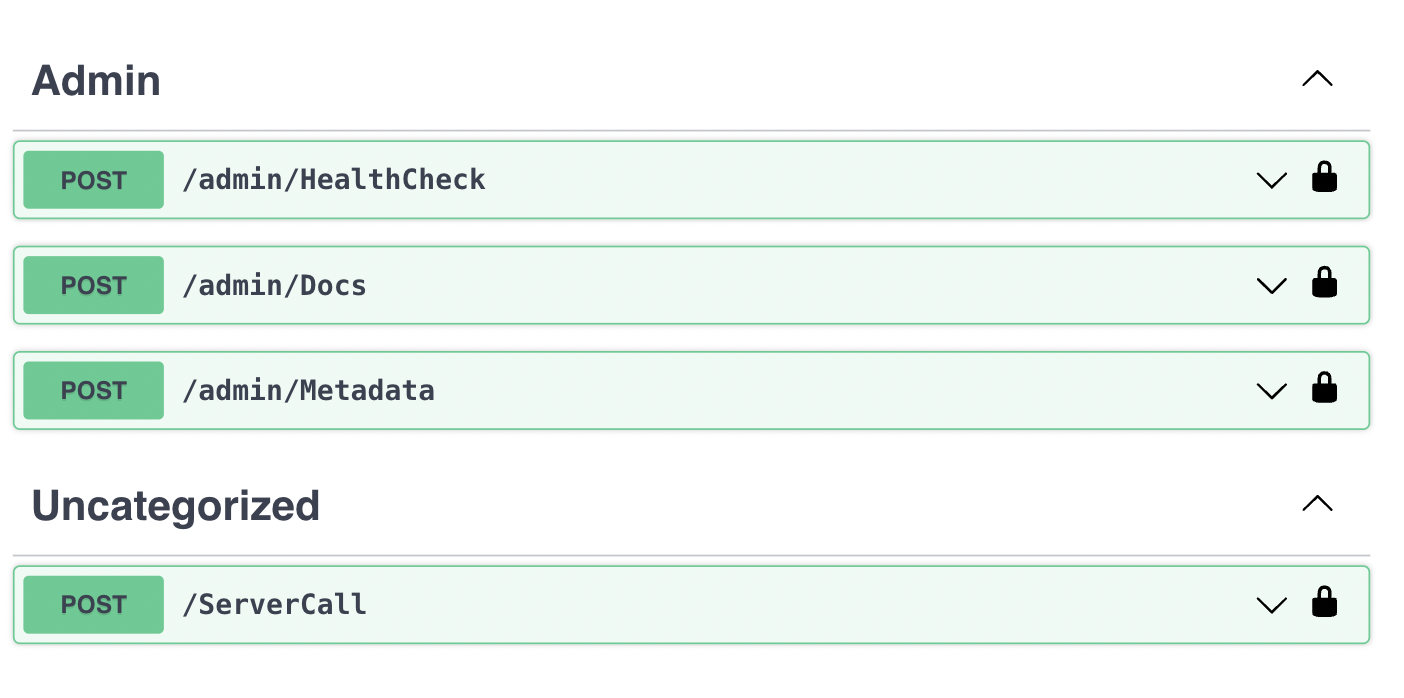
The auto generated Portal testing page for your Microservice
You can use this UI to send sample web requests to your Microservice. To learn more about testing the Microservice from your Unity game, check out the Calling Microservices from Unity section.
Updated 9 months ago